
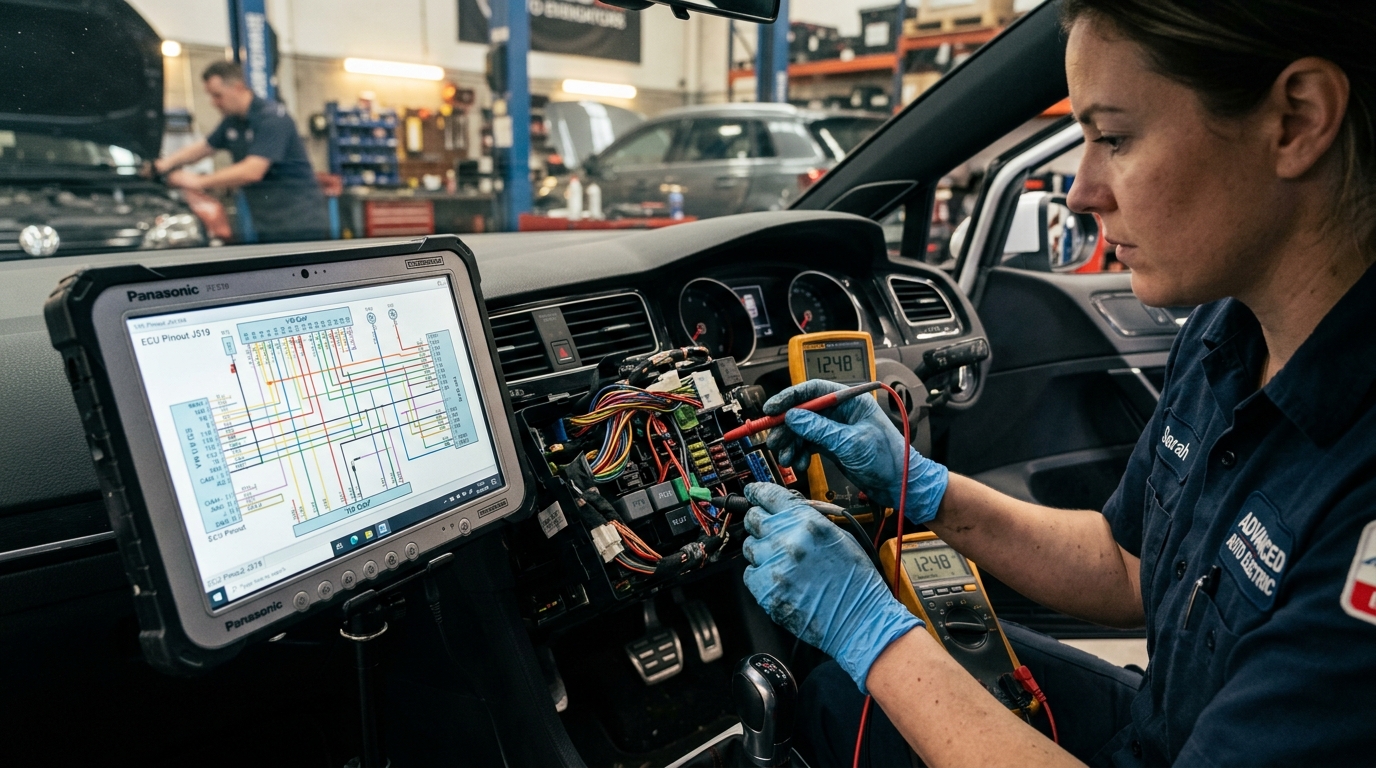
Stop Guessing Wires: How to Diagnose & Fix Tough Automotive Electrical Faults Fast
There is nothing quite as frustrating as an intermittent electrical gremlin. One minute your car runs fine; the next, you have a check engine light for a sensor that tests good, a fuse that pops the moment you insert it, or an alternator that refuses to charge your battery.
Most car owners and DIY mechanics make the same mistake: they start throwing expensive parts at the problem or tearing apart wiring harnesses blind.
Probing random wires with a test light or guessing color codes is a recipe for fried ECUs, melted harnesses, and wasted weekends.
If you are dealing with a tough electrical fault, here is the systematic, step-by-step diagnostic workflow used by master technicians to pinpoint and repair automotive wiring issues without guesswork.
Step 1: Isolate the Circuit (Stop Replacing Good Parts)
Before tearing up trim panels or splicing wires, identify the exact circuit causing the symptom:
- Scan for Diagnostic Trouble Codes (DTCs): Don't just read engine codes—scan BCM (Body Control Module), TCM (Transmission), and ABS modules. Codes ending in “Circuit Low”, “Circuit High”, or “Open Circuit” point directly to wiring or connector faults rather than mechanical failures.
- Inspect the Fuse and Relay: Don't just check if a fuse is blown—measure voltage on both test tabs of the fuse using a digital multimeter (DMM) while the circuit is loaded.
- Check for Voltage Drop, Not Just Continuity: A wire with only a single remaining copper strand will show continuity on a multimeter, but it will drop voltage and fail to carry the required current under load.
Step 2: Eliminate the #1 Cause of Electrical Gremlins (Bad Grounds)
Over 70% of strange electrical faults come down to bad grounds. High resistance on a ground circuit forces electricity to backfeed through other circuits, causing bizarre issues like headlights flickering when you hit the turn signal.
- Set your multimeter to DC Volts.
- Place the negative probe directly on the negative battery terminal.
- Place the positive probe on the ground point or component housing you are testing.
- Activate the circuit: A reading over 0.2V indicates excessive resistance in the ground circuit. Clean off corrosion, inspect eyelet terminals, and check the chassis-to-engine ground strap.
Step 3: Use Verified Factory Schematics (The Pro Secret)
Here is the hard truth: modern automotive electrical systems cannot be diagnosed by color codes alone.
Automakers frequently change wire trace colors between production runs, trim packages, and model years. A blue/white wire on an early-production model might be a 5V sensor reference, while on a late-production model, it could be a 12V switched fuel pump circuit.
Instead of guessing, the fastest and safest route is pulling the exact factory schematic for your specific VIN and trim. You can find comprehensive OEM car wiring diagrams and pinouts at CarWiringPro.com, where you can instantly look up color-coded schematics, connector pin layouts, fuse box maps, and factory wire routing.
Having the correct diagram allows you to:
- Know the exact voltage values expected at every terminal (12V battery, 5V reference, or ground).
- Identify pass-through connectors and splice packs hidden behind dashboards.
- Avoid probing sensitive CAN bus data lines with tools that could short the ECU.
Step 4: Trace the Fault (Short vs. Open Circuit)
With your schematic in hand, isolating the fault takes minutes:
- If a fuse blows instantly (Short to Ground): Disconnect the load (sensor/actuator) and unplug intermediate connectors as shown on your wiring diagram. If the short disappears when a specific harness section is unplugged, the short is inside that segment.
- If a component is dead (Open Circuit): Follow the power feed along the circuit map. Test at each connector until you identify where the voltage drops to zero.
Step 5: Fix the Wiring the Right Way
Once you locate the damaged wire, chafing, or broken pin:
- Avoid wire nuts or cheap twist-and-tape repairs: Engine heat and vibration will shake them loose within months, leading to moisture intrusion and green corrosion.
- Use heat-shrink solder sleeves or weather-pack crimps: Ensure a 100% waterproof seal with adhesive-lined heat shrink tubing to prevent galvanic corrosion.
- Secure the harness: Reroute the harness away from exhaust heat shields, sharp metal brackets, and moving suspension parts using factory-style harness clips.
Final Thoughts: Fix It Right the First Time
Electrical diagnostics don’t have to be a nightmare. With a basic multimeter, a systematic plan, and the right technical data, you can track down faults that even dealerships struggle to find.
Before you cut a single wire or buy another sensor, head over to CarWiringPro.com to get the exact wiring diagram, ECU pinout, and circuit schematic for your vehicle. Having the right map saves you hundreds of dollars in diagnostic fees and gets your car back on the road fast.